How Can We Help?
Registering files as Assets
What Are Assets?
At Concert we refer to data files as Assets. Assets can be any file of any format from any source.
Asset Storage and Versioning
Concert catalogs Assets using a familiar file manager style directory tree. When a new Asset of the same name is introduced, Concert will version the asset and keep both copies. All versions of a file are easily accessible through the asset management interface located in the Overview tab.
Getting Started with Assets
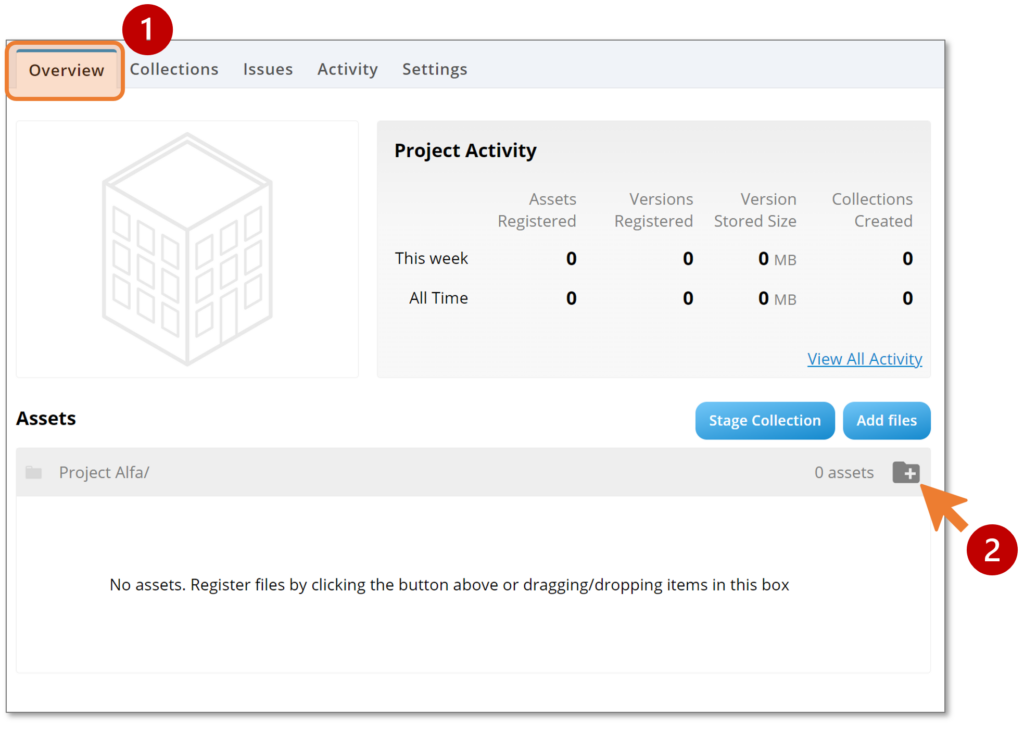
- In the project, navigate to the Overview tab. This is where Assets are organized and managed.
- The first time you access the project the area under Assets will be empty. Before you start adding assets Concert recommends building a basic directory structure to help you manage your assets.
- At the top of the Assets section select the New Folder icon to create a Folder. A dialog box will appear.
- Name the Folder and click Create to finish. You can create as many Folders as you require. Subfolders can also be created by clicking the link into an existing folder and selecting the New Folder icon.
- The new folder will appear in the Assets directory.
Adding Assets to Folders
- Basic methods to add assets to Concert. First, you must navigate to the folder you want to place the asset(s) in:
- Method 1- Select the Add Files button and follow the instructions.
- Method 2 – Simply drag-and-drop the assets to the directory on screen.
- Advanced methods:
- Method 1 – Create a .zip archive of the files you wish to add and Add the .zip through the Add Files button or drag-and-drop. If the .zip archive has a directory structure it will be replicated within Concert.
- Method 2 – Integration. Concert integrations are another method to automatically transfer assets from one platform, like BIM360, to Concert automatically and with folder structures. Refer to Integrations. for more information.
Editing Asset Names and Locations
- Sometimes Assets don’t end up where you want them to be or you want to rename an Asset so that it will Version with an Asset that was added at an earlier date.
- Select the Edit function to rename or relocate the Asset
- The ‘Directory’ option will change the location of the Asset. Selecting ‘File Name’ will allow you to change the name of the Asset.
Tip: To change the directory location use forward slashes to indicate the directory path. For example to move the Asset to a folder titled ‘BIM” you will enter “/BIM” for the directory path.